|
For anyone who has been following my posts and website updates, you'll see that I've shifted my approach towards boutique DIY growers and away from big business, because I don't like how other consulting companies are charging huge amounts of money for substandard service and treating cultivation site design and implementation like some secret sauce, when lots of the best practices and equipment choices can be done on your own for a lot less money.
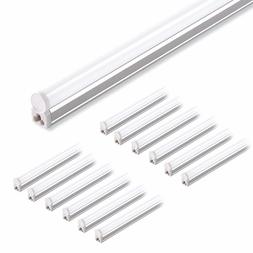
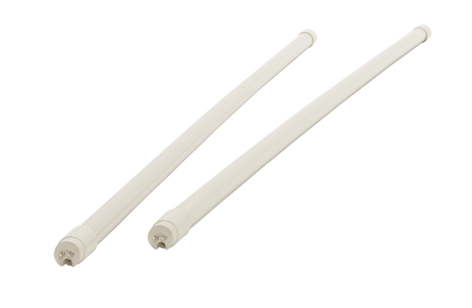
So I'm setting out to share information that will make high dollar consulting companies less valuable, by showing cultivators how to bypass smooth talkers in suits and simplify the process of setting up a successful grow. Today I'm going to tell you which lights are the ones that work great and cost almost nothing for cloning. Cheap LED shop lights from Amazon have been around for a couple years, and the spectrum is generally ok for clones, but up until recently, they were all too bright for the typical (and ideal) distance that lights should be mounted on clone racks. Now we have an option that's LED, super cheap, low wattage, lightweight, easy to mount and perfectly effective at a distance of 6-8" above the clone canopy. Click on the image to go to Amazon to see them.
2 Comments
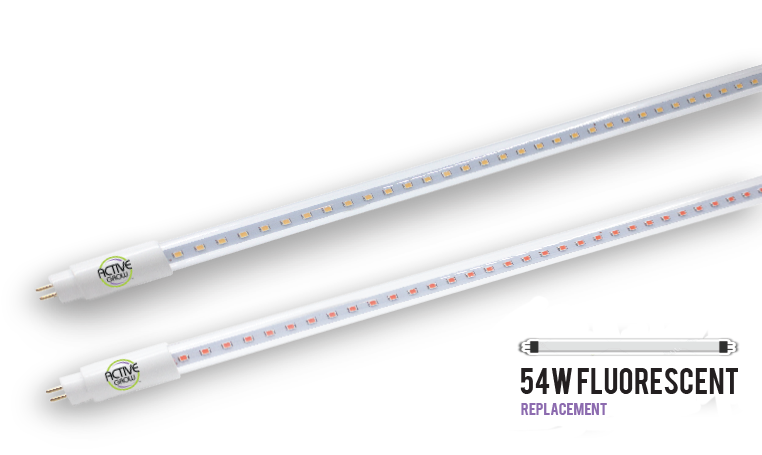
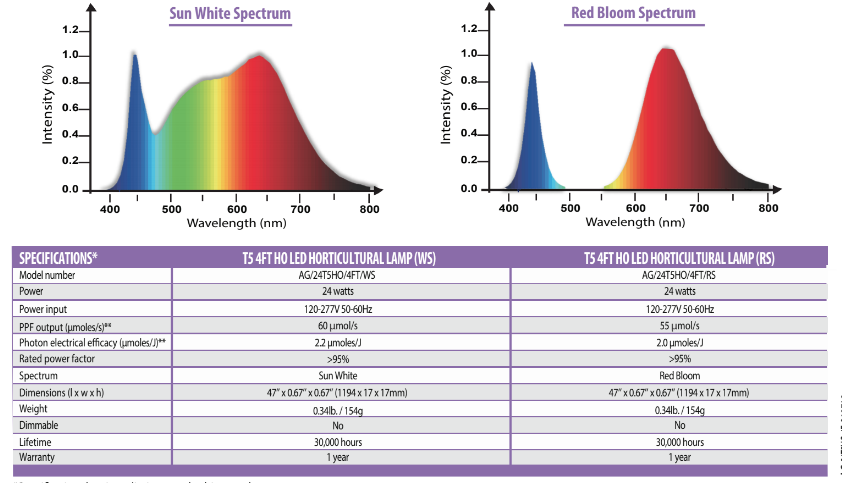
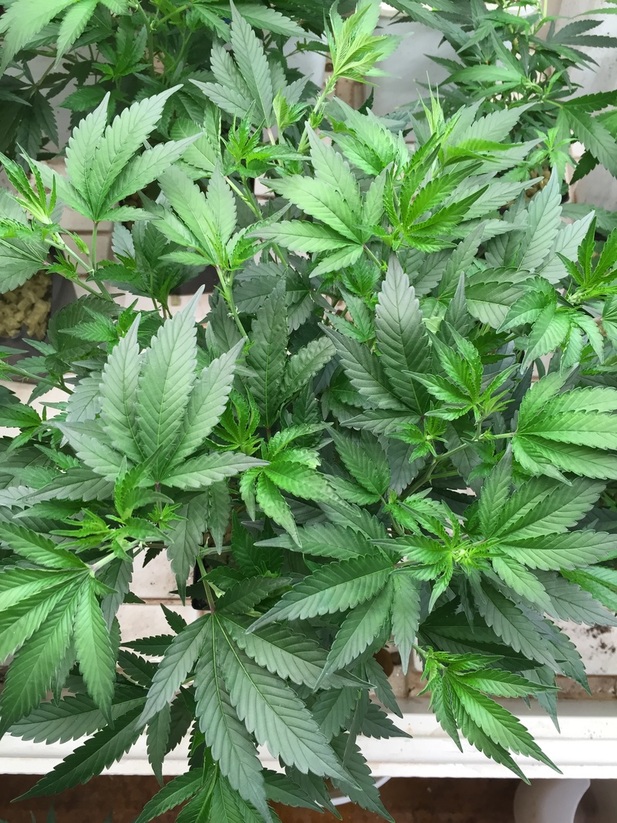
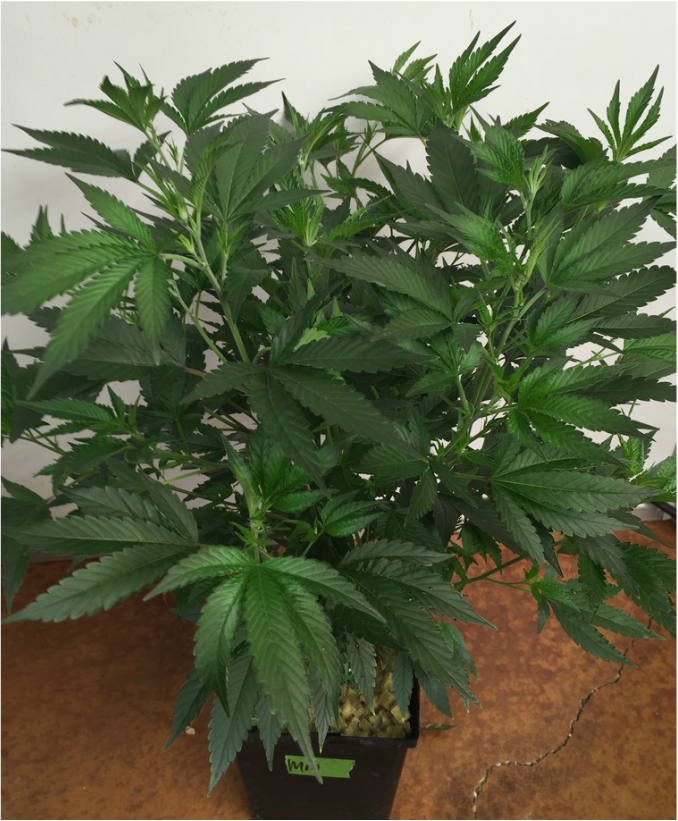
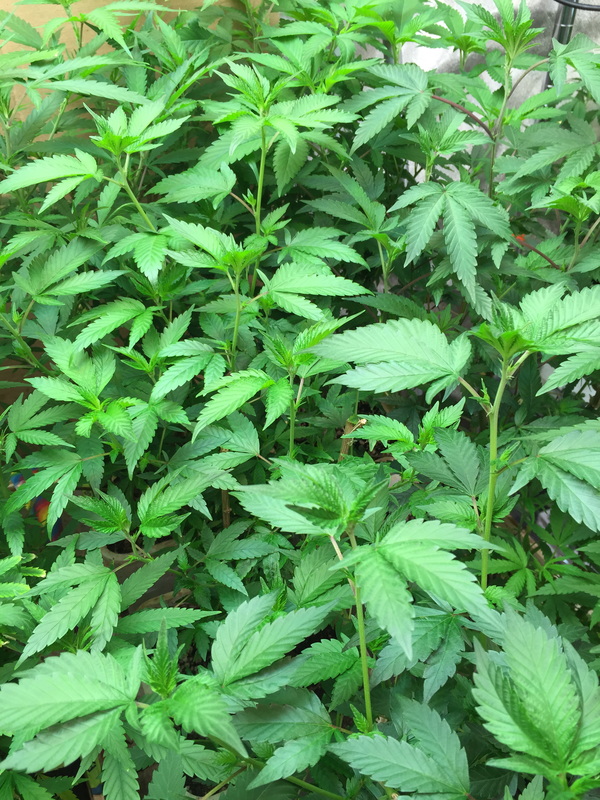
When I last wrote about T5 replacement bulbs, they were still pretty expensive. Now we have an option that uses half the energy, has even better output, and only costs $25-30 a piece. I've been experimenting with these bulbs for a few months now, and my plants are super happy. Just plug them straight into a fluorescent fixture, and they are ready to go. For the price and quality, I haven't seen a better deal. Active Grow has two spectrums available. They draw 24 watts a piece, generate very little heat and last a long time. Plus, no worries about cracking them and spewing mercury all over yourself. Here is their spec sheet: 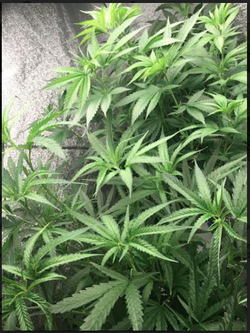 Here's an image of my plants under the Active Grow LEDs. It turns out that LED lights don't change the nutrient uptake patterns of plants at all. You can use the same nutrient regimen. You just need to make sure you get extra dehumidifiers since there won't be as much heat to burn off all of the moisture in the room. Happy Growing! I don't know about you, but I've been waiting for this product for a long time. When LEDs first started hitting the scene as replacements for fluorescents, I was on my computer, trying to figure out if they'd work for plants (they didn't) and if they were affordable (they weren't). Once they started getting made for plant growth, two annoying problems remained. The first was that the light was purple colored, which has never worked for me with LEDs- I need to be able to see what I'm doing and avoid headaches. The second problem was that they weren't plug and play; you had to remove the ballast in your fluorescent fixture in order to make them work. For mechanical people, this problem might not be difficult to overcome, but for others, it was a deal breaker. In any case, it's a bit time consuming. Fast forward a few years, and Transcend Lighting sends me an email, wanting me to check out their new T5 LED replacements bulbs. I was skeptical for the reasons stated above. Luckily, though, I had some T5 fixtures running and was actively seeking ways to cut my wattage draw. It's because I live in Hawaii where electricity is $.39 a kWh, which is CRAZY. Plus, I wanted to add some flowering lights and was maxing out my circuits. If these new bulbs could work, they'd be the perfect solution because, for the same light output, the wattage gets cut in half. My order came within 3 days of placing it, and much to my pleasant surprise, the tubes are actually plastic covered, meaning no more breakable light tubes. Yay! They actually bend a little bit with no problem, and I have permanently removed all traces of toxic mercury from the room now that those pesky fluorescents are gone. They cost $50 each, including shipping, and considering the wattage draw reduction, pay for themselves in about a year, depending on your local cost per kWh. So the buy-in cost is a bit heavy, but the benefits are definitely there to make it totally worthwhile. How's the performance? Excellent! Here are some pics of my clone moms grown under them for a few weeks: Well, you can't argue with that, can you? They work great. If only T5 fixture companies would make fixtures that fit evenly over 4x4 tables, we'd have the perfect combo. (Actually, the 16-bulb Quantum Badboy is pretty close). The only other feature I wish I had is dimmability, and I reported that back to Transcend. They've been very receptive to suggestions and responsive in all our communications. Totally positive experience.
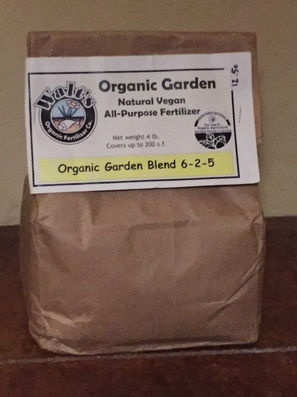
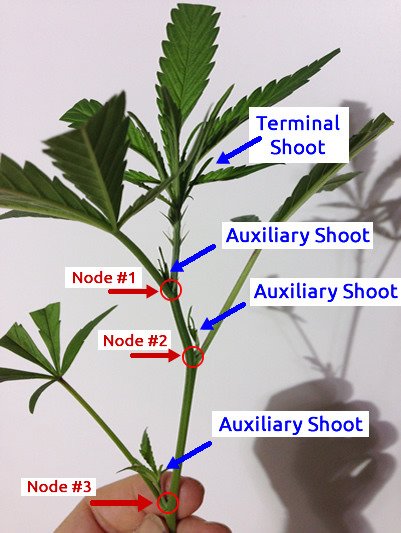
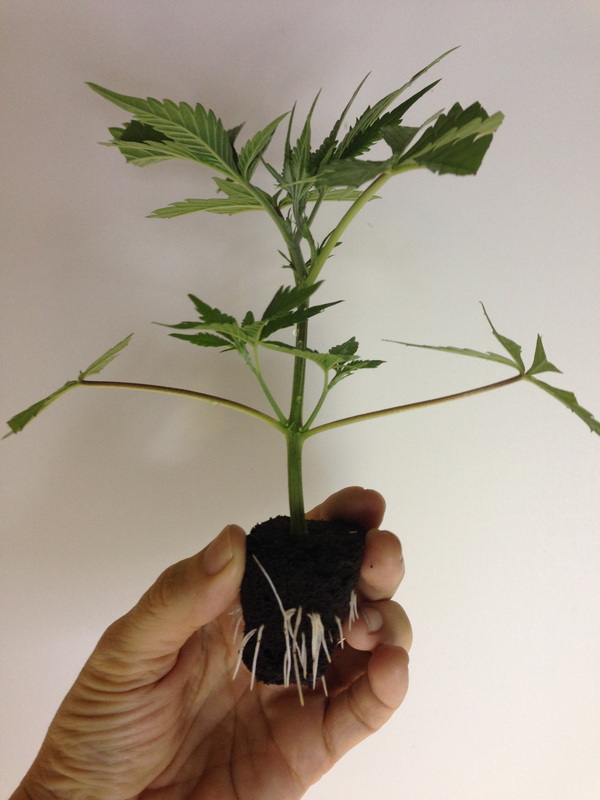
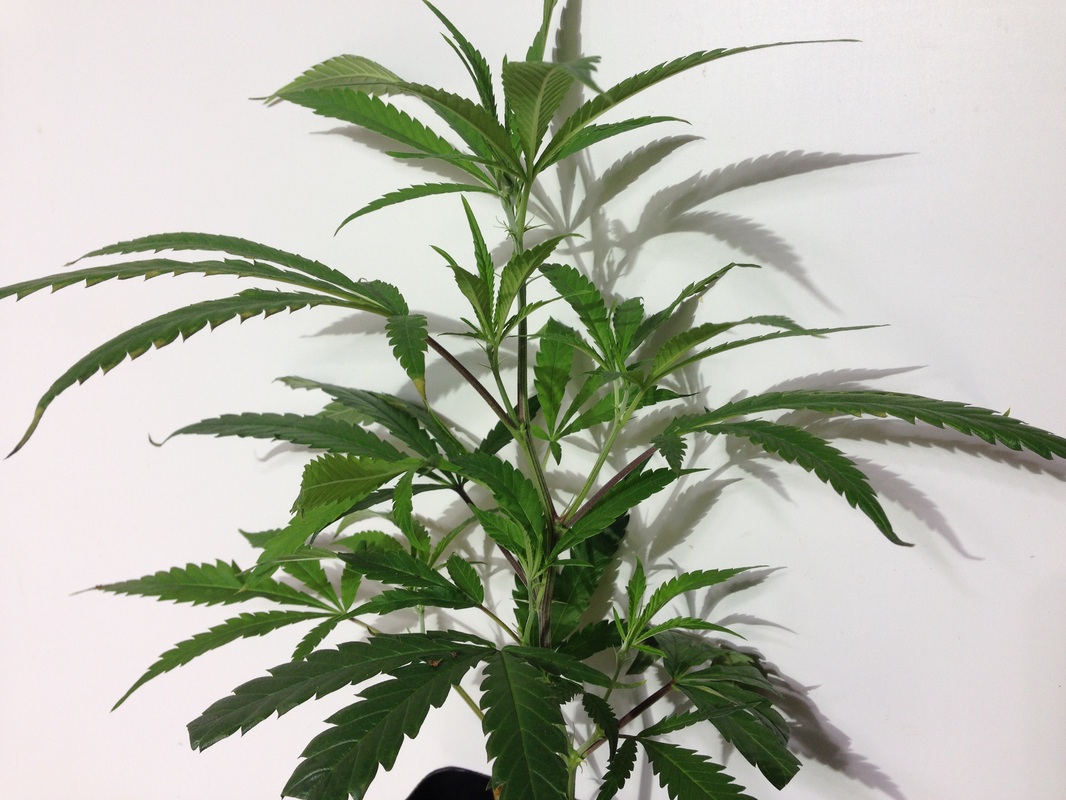
Update: This company is now called Thrive Agritech. Dialing in the nutrient profile of a marijuana fertilizer regimen is almost as complicated as optimizing the health of the human body. For that reason, the more we can understand and minimize the variables, the better we will get at growing consistently high quality cannabis. The first major decision you will face is whether or not to use soil or some kind of circulating water system. Traditionally, this has been referred to as the choice between soil and hydroponics, but the distinction between the two is not as black and white as it might seem. Technically speaking, any grow medium that lacks decomposed plant or animal material (humus) is hydroponic, even if it appears like soil. On the flip side, compost tea can be added to inert media such as coconut fiber (aka “coir”) to create a planting mix that behaves like soil, with a thriving population of beneficial microorganisms. Soil mixes of various kinds continue to gain popularity over the supposedly high-performance water culture systems, even as the commercial marijuana cultivation industry explodes. This is because soil is more forgiving and thus has a higher probability of achieving consistent professional results, where water culture systems can kill your plants overnight if a timer, pump, dripper or dosing system breaks down. In an era of million-dollar investors counting on growers to deliver, the risk of an equipment malfunction isn’t usually worth taking. Even if you are just a home grower, managing a circulating water system adds layers of complexity that might not be worth the investment. You will have to maintain a nutrient reservoir within a narrow temperature range in order to keep your pH and oxygen levels stable and, under normal circumstances, the reservoir will have to be cleaned and refilled every 10 days. It’s not impossible, and it might in fact be the wave of the future, but it certainly takes more skill and practice than just watering your potted plants every few days. As for fertilizers, we all want to be as organic as possible these days. We have seen enough evidence at this point that it’s good for humans and good for the earth. Plus, the organic label carries a premium in a competitive marketplace. The main scientific distinction between organic and synthetic fertilizers is their solubility. Organic fertilizers rely on microbial activity in the soil to become available to the plant, where synthetic fertilizers are immediately available as mineral salts making direct contact with the roots. Think of it as being analogous to the difference between a human body absorbing food through normal digestion vs. through an IV directly into the bloodstream. Both methods have their advantages. Microbes in soil produce all kinds of helpful bio-stimulants for plants, and they have a certain kind of “intelligence” that keeps nutrient availability within reasonable parameters, just as your intestinal flora mediate the nutrients that enter your bloodstream. With synthetic fertilizers, the plants react more immediately to being fed. There is no delay posed by the need for microbial action, and there is no concern that certain nutrients will remain unavailable due to incomplete biological activity. There is, however, a greater risk that the plants will get overdosed and suffer crippling damage, just as a human body would if high amounts of potassium or some other nutrient were pumped directly into the bloodstream. In addition, synthetic fertilizers are far more likely to leach out of the plants and pollute the environment. Is it possible to reap the benefits from both forms of fertilizer? Yes, and you probably already do. If, for example, you buy a soil mix containing worm castings and bat guano, and then you add some kind of bottled liquid fertilizer, you are most likely working with both organic and synthetic fertilizers at the same time. It’s worth calling the fertilizer company to ask them about possible nutrient lockouts that can occur when you start combining formulas, but the most important thing to know is that too much mineral salt content is a risk to the health of your soil microbes. Keep the synthetic fertilizer quantity low in relation to the organic content. You can add certain bio-stimulants like kelp, humic acid, and amino acids to make a smaller amount of synthetic fertilizer go a long way. Always test the pH and ppm (parts per million) of your water runoff to make sure the salts aren’t getting above 1500ppm and that the pH is staying between 5.7-6.3. This ensures happy microbes and effective nutrient availability. If your runoff is out of range, don’t waste a day fixing it. Soil is a very dynamic environment, and cannabis is a very dynamic plant. Even a few hours of extreme pH or nutrient excess can have a permanent effect on your crop, especially once you are in the flowering cycle. I often get questions about how to cut an ideal cannabis clone. How big does it need to be? How many nodes should it have? What other considerations need to be kept in mind? First, let's define three important terms- Node, Auxiliary Shoot, and Terminal Shoot. A Node is an intersection on the stem of a branch where new branches can emerge. Sometimes they come in opposing pairs, and sometimes they appear individually. The branches that emerge from these Nodes are called Auxiliary Shoots. A Terminal Shoot is the top of the branch where the plant is mostly growing from- where it gains length. This can be casually referred to as the "Main Grow Shoot." In some strains, branching occurs from the Nodes without any external stimulation, but in others, the Terminal Shoot must be clipped in order to stimulate branching from the Nodes. When clones are taken, branches are being cut off of the mother plant. The questions that arise are how much to cut, and what condition the branch should be in before it is considered a suitable clone. Theoretically, any cutting with a grow shoot can root, even if that shoot is a tiny immature Auxiliary Shoot coming out of a node when the cutting has no Terminal Shoot. However, smaller less-healthy cuttings have a hard time rooting in comparison to taller beefier ones, and Auxiliary Shoots grow out sideways and can take a while to start growing. On average, clones should be 6-7" tall, and 1/2-1" of that should be submerged below the surface of the medium. Cuttings should ideally have a nice healthy Terminal Shoot and at least one Node below that for best results. More than one Node below the Terminal Shoot is okay too, but no Nodes should be at or below the surface of the medium. All the leaves on the cutting are best off being trimmed back just a bit so adjacent clones in a shared tray won't overlap each other too much. This is shown in the image above. Overlapping leaves can lower the survival rate of less vigorous cuttings. That's the introduction for cutting a good cannabis clone. Happy cloning! Marijuana Tissue Culture - Is it worth it? With the entry of big money into the marijuana industry, methods and priorities are changing. The traditional setup of warehouse-turned-grow-op is evolving into large-scale super professional cultivation buildings which spare no expense in creating the most productive and high-tech facilities imaginable.
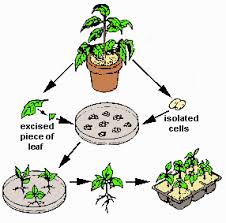
Marijuana propagation has traditionally been done through a method technically known as vegetative propagation- a process by which branches are taken off of good quality female "mother" plants and placed in conditions that support the emergence of new roots. This is a fairly straight forward process that can multiply the number of available marijuana plants exponentially. Tissue culture, on the other hand, is more difficult. This is mainly due to the necessity of a sterile environment. Proponents rightly claim some advantages to this method. For one, you can do it with a small piece of leaf matter, which is admittedly very cool. Another major advantage is that the culturing process removes all bacterial and viral illnesses that might have existed previously in the plant. Third, the genetic condition of the strain is 100% retained, whereas vegetative propagation possibly allows for tiny amounts of mutation over time, although the changes are not often significant. Last, tissue cultured cannabis, once you are set up for it, can be done with less space and energy. You might notice from some casual web searches on marijuana tissue culture that hardly anyone is really doing it, and very few people can prove that they have succeeded with it. Except for the retention of genetic lines, few people would be motivated to set up a tissue culture environment when it's not necessary since vegetative propagation is a much simpler and more guaranteed method, and it's also highly productive in a small amount of space. Again, the necessity of sterility is the key factor here. Even a microscopic amount of bacteria or fungus in the air can infect and ruin your culture, which is the most likely fate for home hobbyists. If some of your specimens do manage to avoid infection, then it can take a few weeks to turn them into plants, which is another turn-off for traditional propagators, who are accustomed to waiting only 6-10 days for new plants. Given the challenges involved with cannabis tissue culturing, it is a method that is most likely best left to well financed cannabis companies who are focused on genetics and strain libraries more so than wholesale and retail marijuana plant distribution. Some people get lucky with their clone endeavors and have just the right circumstances to get good roots on the first try. The same thing can happen with flowering- everything goes well a couple times, and I must be an expert, right? Hey, if you've got a system that works, that's great! It's even more great if you know why it works. Otherwise, an accidental change in your setup will throw you for a loop that might be hard to recover from.
When cloning marijuana plants, it's important to have a very controlled environment, which means good air conditioning, thermostats, heat mats, and measuring instruments. Then, you can maintain your settings within a certain range at all times. If, for example, your clone room temperature had a range of more than 10 degrees from day to night or season to season, you'd probably run into some consistency problems with your rooting and cannabis clone health. For small-scale operations, you don't need to be great at cloning to have success- you just have to cut a lot more clones than you need. Some will root and some won't, but you'll get enough. Also, with small-scale setups, clone machines can be used. These are essentially little enclosed hydroponic units that maintain good consistency of humidity, oxygen, and moisture in the medium during the incubation process. For large-scale operations, any loss or slow down in production means less company income, and that needs to get fixed. Many possible little tweaks can be made to the system in order to improve it. Even something as minute as using a level to balance your incubating clone trays, so water doesn't move downhill and distribute itself unevenly, can make a difference. Start by getting your ambient room temperature set for the smallest 24-hour range possible. Then, do the same with your heat mat thermostats. After that, it's all about water balance, including the humidity inside the propagation dome and the moisture of the medium that holds the cuttings. All of these properties are the most critical for success. You can learn how to clone cannabis by paying attention to and controlling these things, plus doing experiments of your own, and over time, your success rate will keep getting higher. Just stay with it, and measure as many things as possible. And you need any help, just ask ;) Marijuana Cloning Basics The most important thing you need before you can clone a marijuana plant is a nice healthy mother plant that you know is female and is a good strain. Make sure it has no bugs!
Then, you need the basic supplies. I have a list of them at WeedGear.com, my other website. These are all the items I personally use that definitely get good results. If you just want to do the absolute minimum investment, get a tray of Rapid Rooter plugs, a T5 24 watt light, a humidity dome, some scissors, some Dip N Grow rooting hormone, a heat mat, a heat mat thermostat, and a fish tank thermometer. They are all listed at the link above, and they all come with free shipping from Amazon.com. Without these basic things, you are shooting in the dark, and your percentage success will be low. Got your supplies now? Ok, let's move on. You are now ready to propagate some cannabis clones. It's fairly complicated to describe how to efficiently cut a marijuana mother plant for prolific clone production, and that information is going to be extensively discussed in my book and in future blog posts, so I'll just say for now that you need to cut nice healthy branches off the pot plant and strip off leaf matter on the lowest 2 inches. Trim back leaves on the upper part of the marijuana clone so that the entire top isn't more than 2 inches across. If it's any bigger, it will overshadow the clones beside it. Dip your cutting into the rooting solution for 3-5 seconds, and then plant it in the hole. Repeat until you fill the tray or run out of clones. If you are taking a long time to do it, your first cuttings might wilt, so have a sprayer nearby to keep them moist. When you are done, drench the tray with plain water, and drain it. Cover it with a humidity dome, with no ventilation for the first day. Then add a little more ventilation each day. Maintain at 80 degrees, and add a bit of water to the bottom of the tray each day, keeping it consistently moist. Don't water from the top! Rapid rooters don't like that. In 7-8 days, you should have some roots. Remember, this is the extremely simplified method for propagating cannabis! There are many other ways to do it, and the settings are very narrow to get it just right. If you have trouble, contact me for your free 10-minute phone consultation. It will be especially helpful if you have pictures because then I can quickly diagnose your problem, but in the absence of that, I'll do the best I can. Please don't be upset when I stop the talk at 10 minutes. I'm happy to talk longer, but I'll need your credit card number for that. Expert cloning advice doesn't grow on trees! |
AuthorJennifer Martin is a pioneer in American cannabis cloning. Having supplied Bay Area marijuana dispensaries since the passage of Prop 215 in 1996, she helped bring over 2 million marijuana plants into the world. She also won the 1998 San Francisco Bay Area Cannabis Cup with the strain Bubbleberry, by a 32-point spread on a scale of 200. Jennifer lived in Amsterdam in the mid 90's and learned all about the industry and world-class cannabis products. Archives
December 2018
Categories |
 RSS Feed